Gentle Readers, there are few things The Practical Cook enjoys more than cooking from family recipes. One of the things I love most about Christmas is the traditions, quirky as they are, that get formed. Of course, there’s probably a good reason for the tradition of limiting some dishes to the holiday season, lest I never be able to leave my home again.
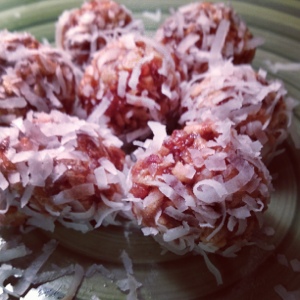
Date-Nut Cookies are one of those recipes. Passed down in different versions by no fewer than two great-aunts, I naturally took some liberties with this 1950s classic to update for the modern palate. Now that I have feeling in my fingers again from rolling molten hot dates in coconut, let’s discuss how it’s done.
Date-Nut Cookies Recipe: 1950s Updated
In a medium saucepan over medium heat, melt:
1/2 cup of salted butter (aka, a stick, this is not a health food
Meanwhile, in a medium glass bowl, mix well:
4 eggs
1 cup sugar
pinch of salt (to balance the sweetness, but don’t go all fleur de sal)
To which you will add the melted better and stir quickly. Add the entire mixture back to the saucepan over medium heat, adding:
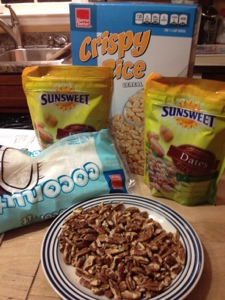
2 cups chopped dates (the ones in the package that comes chopped, do not go offroading on this one, you will not be happy)
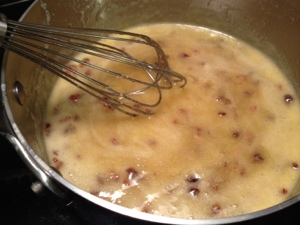
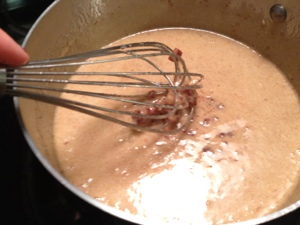
Bring this mixture to a boil, stirring constantly. Boil for 7 minutes, timing it from the very second you see some bubble action. The mixture will go from yellow, to burnt umber (Crayola was wrong to take it from us), to a deep caramel brown.
During the last minute of cooking, add, stirring well:
1 cup chopped, toasted pecans (do not skimp on this, they will not be as flavorful if you don’t toast them. It takes a minute in the microwave, so don’t start with me.)
Set aside to cool for 5 minutes. At this point, add:
4 cups Rice Krispies, or the generic store brand equivalent
Stir thoroughly but gently to fully incorporate. Working quickly with buttered hands (something that feels so wrong, but so right), roll golf-ball sized spoonfuls into rounds and roll to coat with:~4 cups of coconut flakes (use sweetened, unsweetened, organic, whatever, just not the frozen stuff)
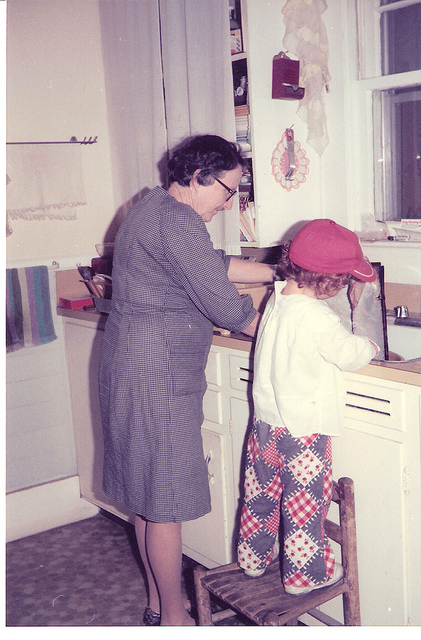
By the end you will either a) want an assistant or b) to roll them in a size MLB would be proud to claim. But remember, you have to move quickly so the mixture is sticky enough to adhere to itself and to the coconut. The challenge: it will be hot enough and sticky enough to adhere to you. Those ladies in the 1950s were bada$$ and forget it at your peril. Buttering your hands and wearing pumps while cooking helps put the pain in perspective.
Recipe yields about 24 cookies. Refrigerate and keep there, though I recommend setting out just a bit before serving to let the flavors bloom. The balance of crunch, salt, sweet is addictive. Date-nut cookies taste even better a couple of days after they’re made, so make them early in your rotation. And, bonus, no oven needed, so you can make them while baking something else.
What’s your favorite heirloom cookie recipe? Post a comment, send a Tweet, offer me a cookie.
Send your exercise programs, spare hands, and extra hours in the day to practical cook at gmail dot com. Connect on Facebook: The Practical Cook Blog. (Thanks in advance for spreading The Practical Cook Blog word. Press “like” on Facebook today!)
Coming up Sunday, Weekly Menus, Holiday Edition.



Pingback: Accepting Defeat in the Kitchen | The Practical Cook